Understanding MiniDV Tapes
What is MiniDV?
The MiniDV format, a digital video cassette format developed by Sony and JVC in 1995, was once a preferred choice for home video recording and professional filmmaking alike. Measuring 6.5 mm in width, these cassettes were compact yet capable of recording high-quality video at resolutions up to 720×480 pixels. They cleverly integrated both video and audio tracks into a single tape, making it accessible for various media devices.
Common Uses of MiniDV Tapes
Initially popularized by amateur filmmakers and set designers, MiniDV tapes found their place in both the consumer and professional markets. These tapes were widely used in consumer camcorders, allowing families to preserve precious memories from birthdays, weddings, and vacations. On a professional scale, MiniDV was favored in various production environments, from small video projects to critical segments of television broadcasts.
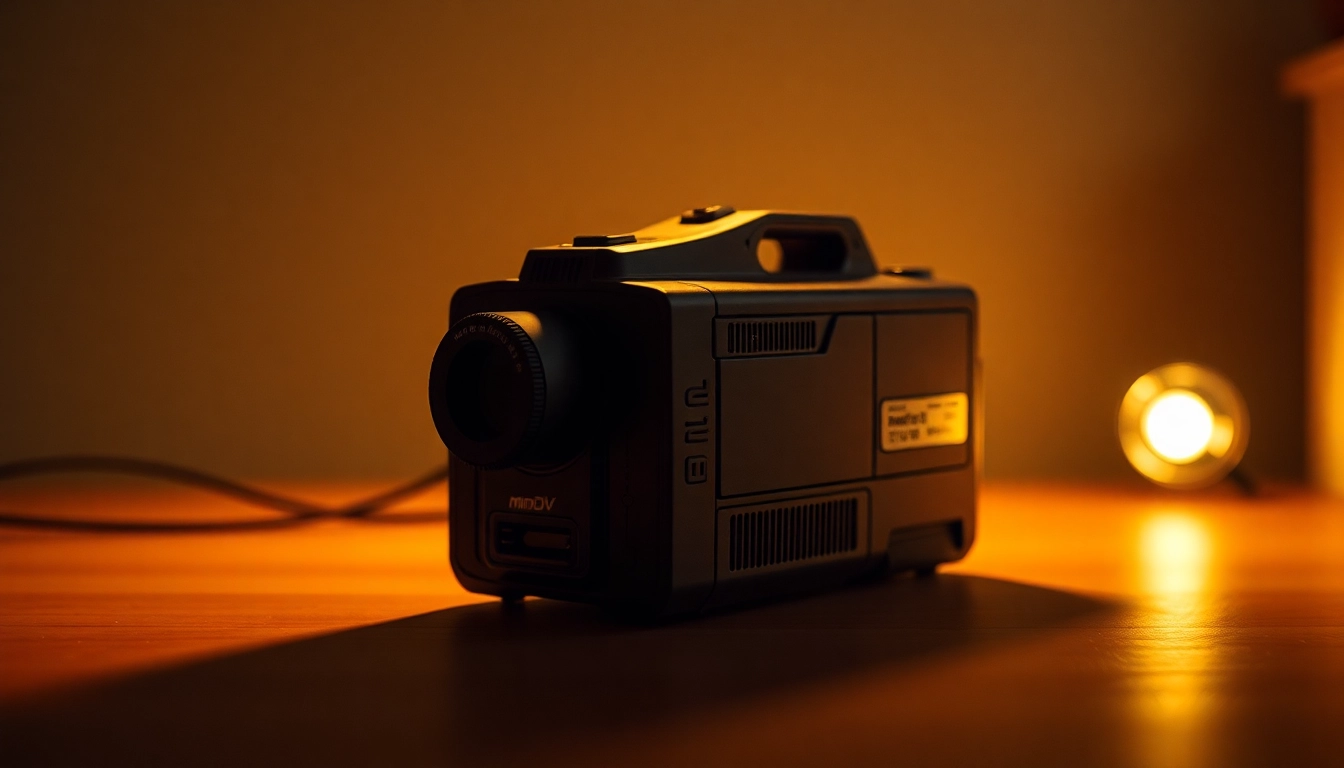
Identifying Your MiniDV Tapes
Old MiniDV tapes may be difficult to distinguish from other tape formats if they are not properly labeled. To identify your MiniDV tapes, look for the MiniDV branding, which is typically located on the tape’s shell. Recognizing the correct format is crucial for ensuring compatibility with playback devices and conversion equipment during the process of converting MiniDV to digital.
The Importance of Digital Conversion
Why Convert MiniDV to Digital?
The conversion of MiniDV tapes to digital securely preserves your cherished memories in a modern format that is more accessible, durable, and versatile. Digital files can be easily viewed on a variety of devices, shared online, and edited using contemporary software, which means that transferring them to a widely supported format is essential for ongoing access.
Benefits of Digital Files
Digital files present numerous advantages compared to their analog counterparts. They provide enhanced storage solutions, allowing for greater scalability without the physical space limitations of tape storage. Furthermore, digital media is less susceptible to degradation from environmental factors, which can rapidly age physical tapes. Additionally, digital files offer straightforward methods for editing, sharing, and preserving quality without generational loss experienced with continuous copying of videotapes.
Risks of Keeping Tapes
Retaining your MiniDV tapes without converting them poses significant risks. Tapes can deteriorate over time, leading to loss of data, colors, and audio quality. Physical damage can also render them unplayable, often leading to permanent loss of content. Furthermore, as technology evolves, machines capable of playing MiniDV tapes are becoming increasingly rare, making the risks of keeping them not just about preservation but also accessibility.
Choosing the Right Conversion Method
DIY MiniDV to Digital Conversion
For those interested in taking the do-it-yourself approach, converting MiniDV to digital can be manageable with the right tools. You will need a MiniDV camcorder or a compatible tape deck that can play MiniDV cassettes, as well as a computer equipped with video capture software. Popular software options include Adobe Premiere Pro, Final Cut Pro, and even some free programs like VLC Media Player. Following the installation, you can connect your camcorder to your computer via a FireWire cable or USB, depending on the device, and begin recording your footage to your preferred format.
Professional Conversion Services
If you prefer a hassle-free process or your tapes contain important memories you cannot risk losing, outsourcing the conversion to a professional service may be the best option. Professional services use specialized equipment to ensure the highest quality conversions while preserving the integrity of the original footage. Additionally, they often offer editing and formatting features that enhance the final product, such as color correction and sound enhancement.
Comparing Options: Cost and Quality
When weighing the pros and cons of DIY versus professional services, cost is a significant factor. DIY may seem more economical initially, especially for those with some technical know-how, but the potential for mistakes could lead to the loss of priceless footage. Professional services provide peace of mind with quality assurance, though they come with a higher price tag. Compare multiple services and seek reviews to find a solution that meets your budget and quality needs.
Steps to Convert MiniDV to Digital
Gathering Necessary Equipment
Before initiating the conversion process of MiniDV tapes, assembling the appropriate equipment is essential. For DIY conversions, you will need:
- A MiniDV camcorder or tape deck
- A FireWire or USB cable for connection
- A computer with video capture software
- An external hard drive or sufficient storage on your computer
Step-by-Step Conversion Process
Once you’ve gathered the necessary equipment, follow these general steps for converting your MiniDV tape to a digital format:
- Connect the Camcorder: Plug in your MiniDV camcorder or player to your computer using the appropriate cable.
- Open Your Video Capture Software: Launch the software you’ve chosen and set it to “capture” or “import” mode.
- Select the Input Source: Choose your device as the input source in the software settings.
- Play the MiniDV Tape: Start the playback of your tape, and simultaneously begin the capture in your software. This will record the video being played onto your computer.
- Save and Format: Once the tape has finished playing, stop the capture and save the video file in your desired format (common options include MP4, AVI, or MOV).
Post-Conversion Storage Solutions
After successfully converting your MiniDV tapes to a digital format, how you choose to store and manage your files becomes crucial. Several options can help maintain the integrity and accessibility of your new digital files:
- External Hard Drives: A reliable method for backup storage, these devices are great for large amounts of data.
- Cloud Storage: Services like Google Drive, Dropbox, and iCloud provide accessible and secure storage options for files that can be accessed from anywhere.
- NAS (Network Attached Storage): A NAS unit offers advanced file management solutions for those with extensive libraries, serving as both a backup and functional access point.
Preserving Your Digital Files
Best Practices for File Management
Efficient file management practices ensure that your converted digital files remain safe and accessible. Start by creating an organized folder structure on your storage device. Name your files descriptively, making it easier to search for specific memories. Implement metadata tagging to include details regarding the date, event, and any other relevant information, improving searchability through digital asset management tools.
Creating Backups and Archives
Developing a robust backup strategy enhances the longevity of your digital files. Regularly update backups, and consider utilizing a 3-2-1 backup strategy: keep three copies of your files, on two different media types, with one copy offsite (e.g., on the cloud). This method protects against data loss from hardware failure or natural disasters, ensuring that your memories remain safe.
Sharing Your Memories Digitally
Digital files offer exciting opportunities for sharing your newly preserved memories with friends, family, and social media platforms. Several platforms enable you to upload and share videos, allowing for collaboration on editing projects. When sharing, ensure you respect privacy preferences, especially if the videos include other individuals. Create shared folders or utilize social media features like private groups for a more controlled sharing environment.