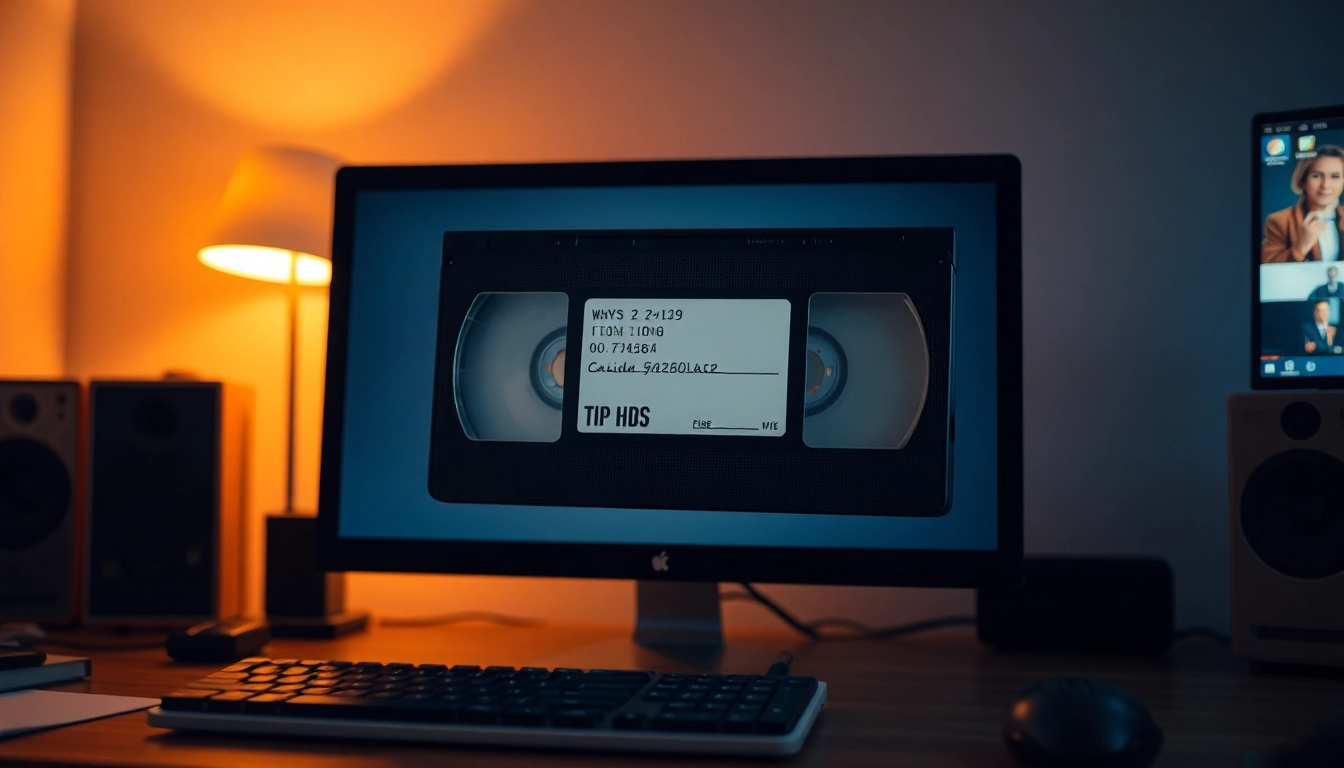
Understanding VHS to Digital Conversion
What is VHS to Digital?
VHS to digital conversion is the process of transforming video content stored on VHS tapes into digital formats. This transition not only preserves the footage but also enhances accessibility and longevity. As technology evolves, many households find themselves with a treasure trove of cherished memories stored in obsolete formats. By converting these tapes into digital files, you can save, share, and view your memories with ease across various devices. Effective methods for VHS to Digital transformation can significantly aid in safeguarding your precious footage against deterioration.
The Importance of Digitizing Memories
Digitizing VHS tapes is crucial for preserving history. VHS tapes have a limited lifespan, with video quality degrading over time. Acidic tape materials and magnetic particles deteriorate, leading to loss of visuals and audio. By transferring these tapes into digital formats, you not only safeguard your memories but also provide a platform for easier sharing with loved ones. Additionally, digital files can be edited, compiled, and shared on social media or family websites, ensuring that these memories are maintained for future generations. The emotional value of these recordings can be profound, safeguarding childhood memories, family gatherings, and even historical events.
Common Formats and Equipment Used
When considering VHS to digital conversion, you will encounter various formats and equipment options. Common digital formats include MP4, AVI, and MOV, each with its strengths and uses. MP4 is particularly popular due to its balance of quality and file size, making it ideal for online sharing and storage. On the equipment side, you will typically need a VCR or VHS player, various cables (such as RCA or S-Video), and a capture device, which can be a USB video converter or a digital video recorder. Familiarizing yourself with these tools is essential for a successful transition to digital.
Methods for VHS to Digital Conversion
DIY Options for Home Conversion
Converting VHS tapes to digital at home can be a rewarding endeavor, ideal for those who prefer a hands-on approach. DIY options range from basic setups to more sophisticated arrangements. For a basic conversion, you simply need a VCR, a USB video capture device, and a computer.
Step-by-Step DIY Process:
- Purchase a Video Capture Device: Devices such as the EasyCap or Elgato Video Capture offer reliable options.
- Connect Your Equipment: Use RCA cables to connect the VCR to the capture device, which is then connected to your computer via USB.
- Install Necessary Software: Many capture devices come with bundled software. Ensure it is installed and configured properly.
- Record the Video: Play your VHS tape on the VCR while simultaneously recording on your computer. Once finished, save the file in your desired digital format.
While this process might seem straightforward, it can sometimes lead to challenges such as offset audio, video quality issues, or even hardware malfunctions. Ensuring compatibility and following product instructions can alleviate many of these issues.
Professional VHS to Digital Services
If the DIY route seems too daunting or time-consuming, numerous professional services specialize in VHS to digital conversions. These services handle the entire process, providing peace of mind and often higher quality results. These companies use professional-grade equipment and techniques to ensure that your tapes are preserved in their best form. Services like Legacybox and others offer tailored packages including cloud storage for easy access and distribution.
Choosing the Right Equipment and Software
Whether opting for a DIY approach or professional service, selecting the correct equipment and software is vital. For DIY users, investing in a reliable capture device is essential. Look for features such as support for various formats, ease of use, and good reviews. Software also plays a critical role; options like OBS Studio for recording and HandBrake for transcoding are popular among many users due to their robust feature sets and user-friendly interfaces.
Step-by-Step DIY Process
Gathering Necessary Equipment
Before beginning the conversion process, ensure you have gathered all necessary equipment. Key items include:
- VCR or VHS Player: Essential for playing the tapes.
- Video Capture Device: USB capture devices like EasyCap.
- Cables: RCA or S-Video cables to connect equipment.
- Computer: For recording and storing the digital files.
- Editing Software: Optional, for enhancing your final product.
Having the right equipment will streamline the process and enhance the quality of your digital files.
Connecting Your VCR to a Computer
Making the right connections between your VCR and computer is crucial. Follow these steps:
- Plug the RCA cables from the VCR to the video capture device. Ensure the colors (yellow for video, red and white for audio) correspond correctly.
- Connect the capture device to your computer via USB. This connection will allow the video and audio signals to be sent for processing.
- Depending on the device, you may need to install drivers or software provided by the manufacturer.
Once all equipment is connected securely, you’re ready to proceed with recording.
Recording and Saving Your Digital Files
After ensuring that your equipment is set up correctly, start recording:
- Open the capture software on your computer.
- Select the input source as the connected device.
- Play the VHS tape on the VCR and press the record button in the software.
- Monitor the recording process to ensure both video and audio are captured correctly.
Once the recording is complete, save the file in the preferred digital format. Regularly back up this data to prevent loss of precious memories.
Quality and Format Considerations
Choosing the Right Digital Format
Choosing the appropriate digital format for your saved recordings significantly affects both quality and usability. Popular formats include:
- MP4: Highly versatile and supported across numerous devices, optimal for sharing online.
- AVI: High-quality files suitable for local storage but typically larger in size.
- MOV: Ideal for Apple devices and platforms, offering high-quality video.
When selecting a format, consider the intended use of your videos. For instance, MP4 is often the best choice for easy sharing and storage.
Enhancing Video Quality with Editing Software
After converting VHS tapes to digital, consider enhancing the quality of your videos using editing software. Popular options include Adobe Premiere Pro, Final Cut Pro, and free alternatives like DaVinci Resolve. Simple edits such as color correction, audio enhancement, and cutting unnecessary sections can greatly improve viewing experience. These tools also allow you to create highlights, merge clips, or even create engaging slide shows from your recordings.
Standard vs. High Definition: What’s Best?
When converting video from VHS to digital, you have options for standard (SD) and high definition (HD). Standard definition is beneficial for smaller file sizes and quicker uploads. However, if your goal is to preserve quality, opt for HD. While this will result in larger file sizes, the visual clarity and detail retention can make a significant difference, especially for future playback on high-resolution screens.
Finalizing and Storing Your Digital Memories
Best Practices for Saving Digital Files
Digital preservation of your converted VHS tapes involves thoughtful consideration of storage practices. To ensure the longevity of your digital files:
- Organize video files into designated folders with clear naming conventions that include dates and descriptions.
- Back up files regularly on multiple storage devices, including external hard drives and cloud services.
- Implement version control for edited files, keeping the original and working copies separated.
These practices will help prevent accidental loss or corruption of files over time.
Cloud Storage vs. External Hard Drives
When selecting storage solutions for your digital files, consider the differences between cloud storage and external hard drives:
- Cloud Storage: Accessible from anywhere with an internet connection, ideal for sharing and accessing files on the go. However, it relies on third-party providers and may incur monthly fees.
- External Hard Drives: Offer large storage capacities at a one-time cost, providing physical control over files. However, they can be lost or damaged, so it is advisable to maintain multiple copies in different locations.
Weighing the pros and cons of each solution and considering your specific needs for accessibility and security will aid you in making the right choice for storing your digital memories.
Sharing and Enjoying Your Digital Collection
Once your VHS tapes are converted to digital and securely stored, it’s time to share and enjoy your recordings. Digital files can be easily shared via email, cloud services, or social media platforms, allowing friends and family to relive the moments with you. Consider creating compilations or slideshows to highlight special occasions, making it easy to celebrate family milestones with those who matter most.
In essence, converting your VHS tapes to digital is not just a technical process; it’s an invaluable opportunity to create lasting bonds with your loved ones, making memories accessible and enjoyable for years to come.