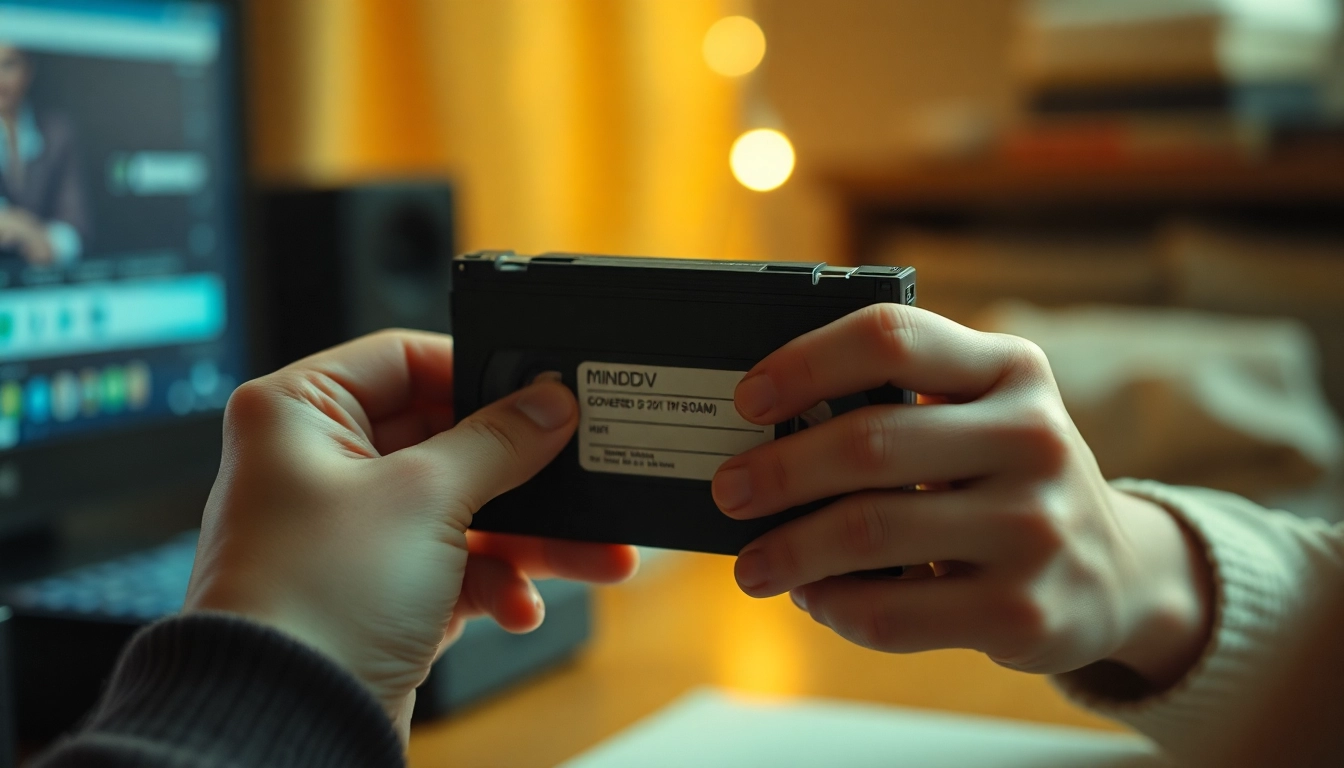
Understanding MiniDV Tapes and Their Significance
In the landscape of video recording technology, MiniDV tapes hold a unique place in the hearts of many videographers and hobbyists alike. These small but powerful tapes made their debut in the late 1990s and quickly became the go-to medium for high-quality digital video recording. The transition from analog to digital media was significant, leading to a revolution in how we capture and store our memories. Today, many people find themselves with a collection of cherished MiniDV tapes, yearning to transfer this footage into a more accessible and enduring format. The process of converting Minidv to digital is essential not only for preservation but also to facilitate sharing and ease of use in a digital world.
History and Evolution of MiniDV
For context, MiniDV was unveiled by a coalition of companies including Sony, Panasonic, and JVC as a compact digital video format designed to offer superior recording quality in a small size. These tapes measure only a few inches across, yet they could hold up to 60 minutes of high-quality video data. From its introduction in 1995, MiniDV appealed to both amateur and professional videographers due to its lightweight nature, affordable price, and the simplicity of its recording and playback systems.
As video technology progressed, MiniDV transitioned from being the standard in consumer products to being overshadowed by advancements in hard disk drives and flash storage systems. However, it’s still celebrated for the quality it provided at its time, as well as the magnetic tape recording technology that many rely on for historical archiving.
Why Preserve MiniDV Footage?
Preserving MiniDV footage means ensuring that timeless memories do not fade away with time. These tapes often contain irreplaceable moments such as family gatherings, weddings, and important milestones that individuals would like to retain for generations. When properly preserved and converted to digital formats, they can be enjoyed on contemporary devices, shared with family and friends, and even edited into new video projects.
Digital preservation also safeguards against the deterioration of physical media. Magnetic tapes can degrade, lose their magneticism, or become damaged due to environmental factors. By converting MiniDV tapes to digital format, you mitigate the risk of losing precious videos due to time’s inevitable wear and tear.
The Challenges of MiniDV Tape Storage
While MiniDV tapes have a significant legacy, they come with challenges. As mentioned, the physical deterioration of the tapes is a notable issue, as is the risk of obsolescence of playback devices. Many households no longer own MiniDV camcorders, making it more difficult to play back the tapes. Additionally, storage conditions can greatly affect the lifespan of the tapes. High humidity, temperature fluctuations, and exposure to light can degrade magnetic tapes over time. Therefore, converting these tapes while they are still viable is crucial in preserving the content they hold.
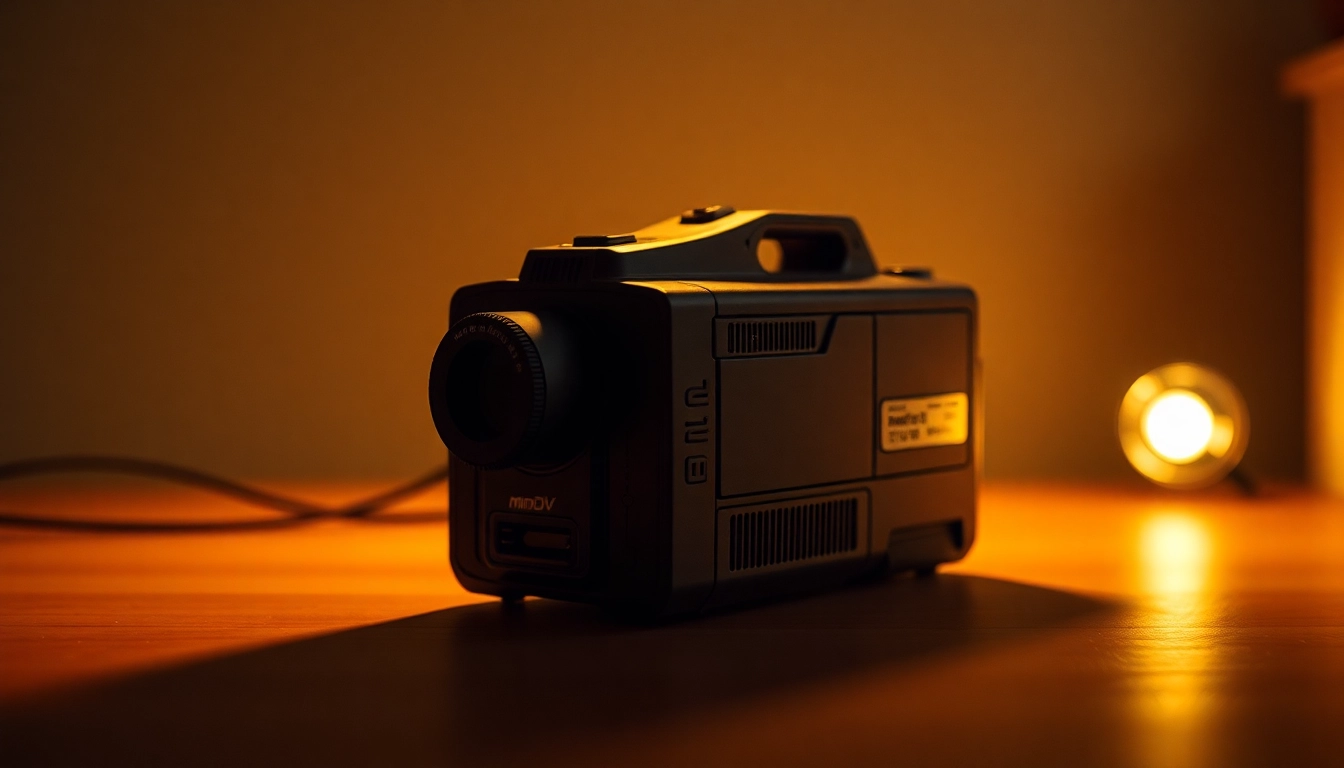
Essential Equipment for MiniDV to Digital Conversion
Choosing the Right Playback Devices
The first step in converting MiniDV tapes into a digital format is selecting the right playback equipment. You will need a functioning MiniDV camcorder or a dedicated MiniDV player. Some players support various formats, which can be beneficial if you also have other tape formats to convert. It’s essential to ensure that the playback devices are in good working condition, as even a marginal defect can lead to compromised video quality during conversion.
Consider investing in firewire cables (or IEEE 1394) because many MiniDV camcorders use this interface for transferring video data to computers. It’s crucial to check if your computer has the corresponding port, or you may require additional hardware, such as a firewire card. If using legacy devices, ensure compatibility within your current setup.
Software Solutions for Effective Conversion
Once you have your playback devices ready, the next step lies in selecting the right software to facilitate the conversion process. Numerous software applications are available, ranging from free options to advanced paid applications with extensive features. Programs such as Adobe Premiere Pro, Pinnacle Studio, and Avidemux provide robust functionality for digitizing video content and editing capabilities post-conversion.
Free software like iMovie (on macOS) and Windows Movie Maker (on Windows) offers sufficient tools for simple conversions, making them suitable for casual users. Research each program’s specifications regarding video file types it can accept, as you want an application that will output your files in a format that suits your needs, typically formats like MP4 or AVI.
Additional Tools for Optimal Results
In addition to playback devices and software, other tools can enhance the conversion process. Video capture hardware—like an external video capture device—can assist in reducing lag during transfer and improve overall quality. If your camera supports it, cleaning tape heads with a head cleaning kit ensures that readings from the tape are accurate and clear. This is especially useful for older tapes that might have dust or debris interfering with quality.
A solid external hard drive is also recommended to store the converted files securely. Ensure that you have sufficient storage space to avoid losing any video footage or incurring costs associated with repeated conversions.
Step-by-Step Guide to Converting MiniDV to Digital
Preparing Your MiniDV Tapes for Transfer
Before launching into the conversion process, it’s essential to prepare your MiniDV tapes. First, inspect each tape carefully for visible damage, such as fraying or winding issues. If present, consider some basic repairs or consult a professional restoration service before proceeding. Make sure each tape is wound tightly and clean to avoid any playback disruptions.
Next, set up your playback devices in a clean and stable environment, ensuring that cables are functional and properly connected. This setup also requires a computer with suitable retention software installed, as previously discussed. Test the playback functionality of the camcorder before plunging into conversion to ensure there are no surprises down the line.
Executing the Conversion Process
With everything set up, you can now initiate the conversion process. Start the playback on your MiniDV camcorder, ensuring that it’s directly linked to your computer. Using your video capture software, follow these steps:
- Open the software and select the correct input (the firewire or USB connection).
- Choose the destination folder where you want to save the converted files.
- Hit the record button in your software before pressing play on your MiniDV camcorder. This action captures the video stream as it’s played.
- After the tape ends, stop the recording. Check the output file for any quality issues.
This process may take some time, depending on the length of the tape. Ensure you monitor the recording for quality and any interruptions.
Troubleshooting Common Conversion Issues
While the process can be straightforward, various challenges might arise. Common issues include dropped frames, audio sync problems, and signal interference. It’s prudent to check your connection cables and ensure your hardware settings are set correctly before starting the conversions. If you notice any lag in video capture, ensure that your playback device is functioning correctly and consider testing using another device entirely.
In cases involving files that output with poor quality, review your capture settings to confirm you’re capturing at the highest resolution available. If problems persist, reinstalling the software or seeking alternative software solutions can sometimes err margins way clearer through adjustments.
Storing and Sharing Your Digital Videos
Optimal Formats for Digital Storage
After successfully converting your tapes to digital, it’s essential to select an appropriate file format. Formats like MP4 are widely accepted and provide a good balance between quality and file size. They ensure compatibility across a variety of devices, from computers and smartphones to tablets and smart TVs.
Other formats worth considering are AVI or MOV, particularly if you plan to do further editing or require higher video fidelity. Ensure that you aren’t overloading your storage solution with excessive redundancy, as well; maintaining a consistent quality across a standard video format stream will ease organization later.
Best Practices for Organizing Digital Files
Digital organization is paramount once your MiniDV tapes have been successfully converted. Establish a systematic naming convention for each video file, which makes retrieving specific videos easier later. Consider using dates, event names, or keywords for efficient filing.
Organize video files into folders based on categories—type of event, year, or family member to whom the footage belongs. This meticulous organization will save you time in the future as you retrieve and access your cherished memories. Implement a consistent backup plan that keeps your media accessible, safe, and secure.
Sharing Your Converted Videos with Family and Friends
Once you’ve organized your digital files, sharing them becomes a delightful prospect. Options such as cloud storage platforms (Google Drive, Dropbox) or social media sites can streamline this process. You could consider creating private YouTube channels to showcase the memories with family and friends who might appreciate wistful reflection on shared experiences.
Physical copies can also be made by burning the videos onto DVDs. This way, recipients can enjoy nostalgic watching experiences on their televisions. Consider offering MP4 files on USB thumb drives as gifts that can be plugged into any compatible viewing device—essentially allowing portability.
Future-Proofing Your Video Collection
Maintaining Your Digital Files Over Time
To ensure the longevity of your digital video collection, regular maintenance is vital. Check digital files periodically to confirm they remain accessible and intact. Utilize duplication storage periodically as well to mitigate risks associated with data corruption or media degradation.
Consider employing formats that have wider support for contemporary and future devices; adhering to industry standards as they evolve preserves accessibility for your video archives forever. Regularly refer back to storage mediums to ensure they maintain compatibility with current technologies.
Upgrading Your Hard Drive and Backup Solutions
As your video collection grows, it may necessitate upgrading your current storage options. External hard drives are sensible investments, giving you ample space for larger video files without worrying about system slowdowns. Look into cloud backup options as well, ensuring your videos are retrievable even if your hardware fails.
Implement a routine strategy that prioritizes regular backups of both local and off-site storage options. This redundancy diminishes the likelihood of data loss and keeps your memories safe for years to come. Regularly monitor the integrity and performance of your storage devices to identify any issues early.
Investing in Long-Term Digital Archiving
For those serious about preserving their digital legacy, investing in long-term digital archiving solutions is worth exploring. Specialized services can handle categorizing, preserving, and indexing video files to ensure they are maintained at their highest quality and are easily retrievable while keeping compatibility with future technologies.
These services may also provide assistance in digitizing tapes with potentially delicate or precious content. Utilizing reputed companies can significantly diminish risks associated with failed conversions, delivering an experience that saves irreplaceable footage well.